Is Pi-hole Worth It? An Honest Practitioner Take
Home Lab Cluster — Part 4
Is Pi-hole worth it? For most people, honestly, no — a browser extension gets you most of the benefit for none of the effort. But for a specific set of problems that browser extensions can’t touch, Pi-hole is one of the best-value pieces of security infrastructure you can run at home. This article is about working out which camp you’re in before you buy a Raspberry Pi.
This is the fourth article in the home lab series. Like the Vaultwarden and WireGuard pieces, the framing is the same: I run this in my own lab, I’ll tell you what it’s genuinely good at, and I’ll tell you when you shouldn’t bother.
What Pi-hole actually does
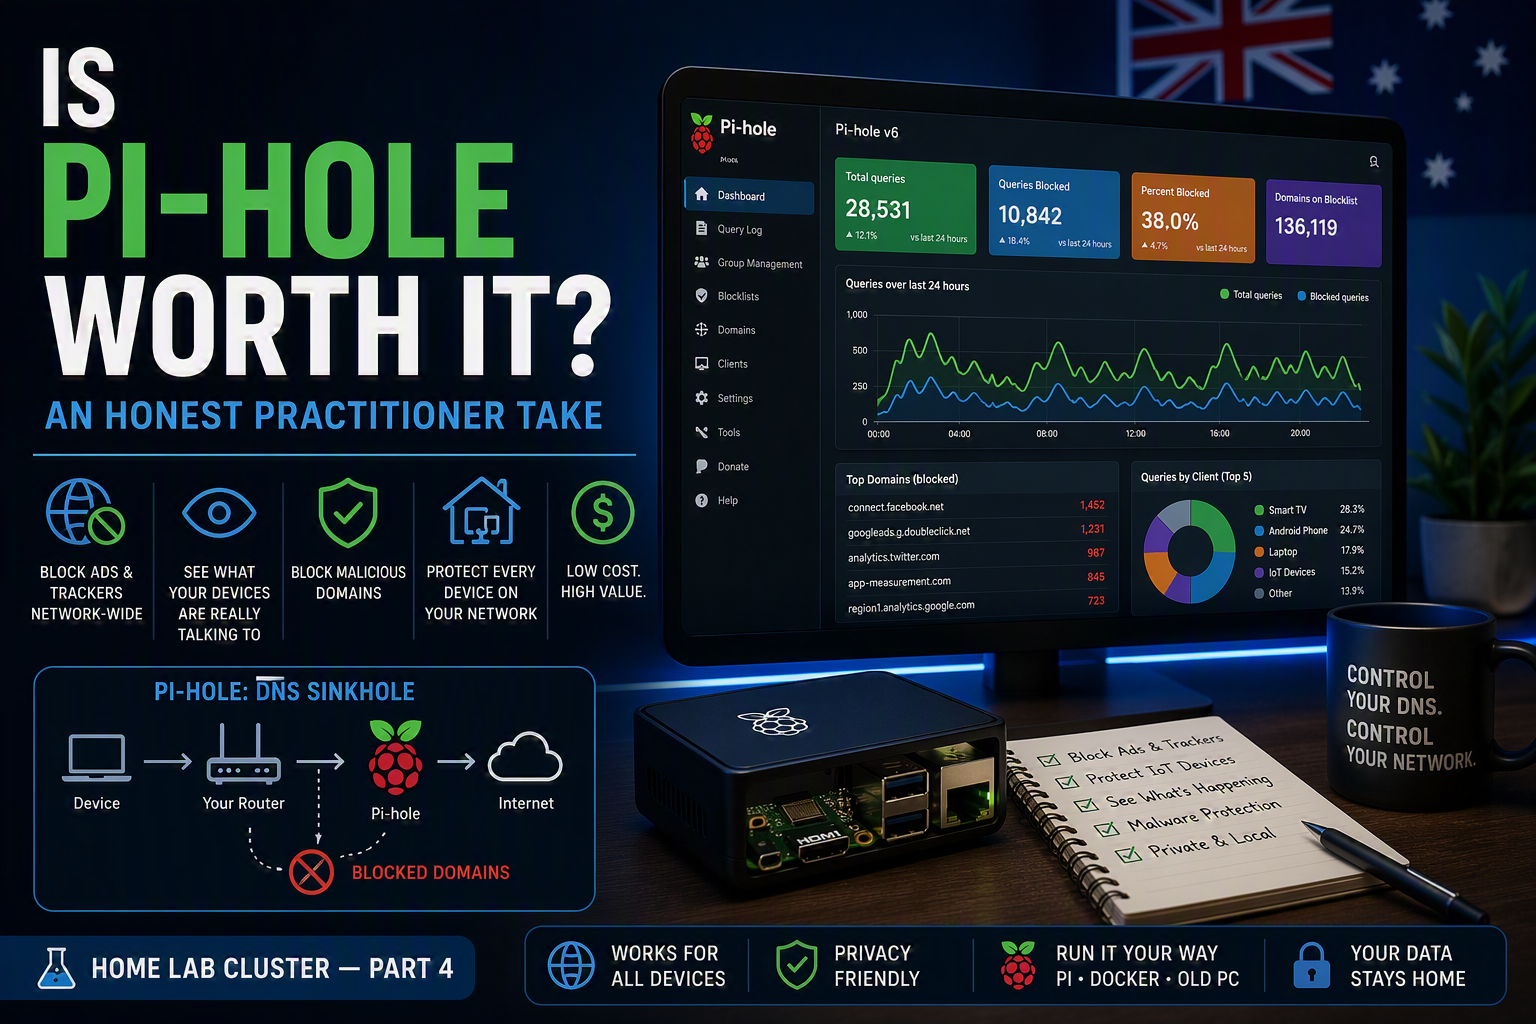
Pi-hole is a DNS sinkhole. Every device on your network asks a DNS server to translate domain names into IP addresses before it can connect to anything. Pi-hole sits in the middle of that process: when a device asks for tracking.example-adnetwork.com, Pi-hole checks the domain against its blocklists and, if it matches, returns a dead-end answer instead of the real address. The ad, tracker, or telemetry endpoint simply never loads.
Because this happens at the DNS layer, it works for every device on your network — not just browsers. Your smart TV, your kids’ tablets, the IoT gadgets phoning home to servers you’ve never heard of: all of it goes through the same chokepoint.
The current release, Pi-hole v6, is a meaningful step up from earlier versions — it ships its own embedded web server (no more separate lighttpd dependency), supports HTTPS on the admin interface natively, and is generally a leaner install than the v5 guides you’ll find floating around the internet describe.
The honest comparison: you probably already have 90% of this
Before anything else: if your goal is “fewer ads while browsing,” install uBlock Origin in your browser and stop reading. It’s free, takes thirty seconds, blocks ads more thoroughly than Pi-hole does inside the browser, and requires zero maintenance.
That’s not a throwaway line — it’s the correct answer for most households, and it’s the same logic as the Vaultwarden article: the managed/simple option is usually right, and the self-hosted option needs to justify itself. Pi-hole can’t inspect page content the way a browser extension can, so it actually blocks fewer ads in your browser than uBlock Origin does. Anyone who tells you Pi-hole replaces a browser ad blocker hasn’t run both.
So the real question isn’t “should I block ads?” It’s: do you have a problem that only network-level blocking solves?
Where Pi-hole earns its place
Devices you can’t install anything on. This is the core use case. Smart TVs are the worst offenders — many ship with aggressive telemetry and ad platforms baked into the firmware, and there is no extension store for your television. The same goes for streaming boxes, smart speakers, IoT sensors, and most apps on phones and tablets. DNS-level blocking is the only lever you have over these devices, and Pi-hole pulls it.
Visibility into your own network. This is the practitioner argument, and it’s the reason Pi-hole is in my lab. The query log shows you every DNS request every device makes. The first week is genuinely eye-opening: you’ll watch a “smart” appliance phone home hundreds of times a day, see exactly which analytics endpoints your phone’s apps talk to at 3am, and get an intuitive feel for what normal traffic on your network looks like. That baseline is real security value — the same instinct that makes enterprise DNS logging one of the highest-value telemetry sources in a SOC applies at home, just at smaller scale.
Whole-household protection with zero per-device setup. Once Pi-hole is your network’s DNS server, every device that joins your Wi-Fi is covered automatically — including guests, and including the family members who will never install or configure anything themselves.
Malicious domain blocking. Beyond ads, Pi-hole’s blocklists can include known malware, phishing, and cryptomining domains. It’s not an endpoint security product and shouldn’t be treated as one, but as a cheap extra layer that catches known-bad domains before a connection is even attempted, it’s worthwhile defence in depth.
What Pi-hole won’t do — read this before buying hardware
It won’t block YouTube ads. YouTube serves ads from the same domains as its videos. Blocking the ad means blocking the video. The same applies to ads served first-party by Facebook, Instagram, and increasingly, other major platforms — this is precisely why they serve ads that way. If YouTube ads are your main annoyance, Pi-hole will disappoint you.
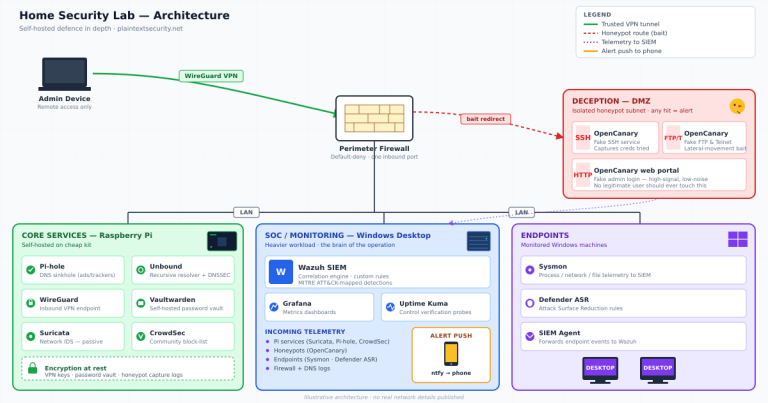
It does nothing once you leave the house. Pi-hole protects your network. Your phone on 5G or café Wi-Fi is on its own — unless you pair Pi-hole with the self-hosted WireGuard tunnel from the previous article in this series, which routes your phone’s DNS back through your home network wherever you are. The two projects genuinely complete each other, and if you built the WireGuard tunnel already, Pi-hole is the natural next step.
It’s a single point of failure for your entire network. When Pi-hole goes down, DNS goes down, and from the household’s perspective “the internet is broken.” Mitigations exist (a second DNS server, sensible failover), but understand what you’re signing up for.
Something will break, and you will hear about it. Blocklists occasionally catch domains that legitimate services depend on — a click-tracking domain in a retailer’s email links, a CDN a shopping site uses, a smart-home service’s telemetry endpoint that the device sulks without. The fix is a ten-second whitelist entry, but it means Pi-hole has a low ongoing maintenance cost that a browser extension doesn’t. If nobody in your house is willing to be the person who fixes it, that’s a legitimate reason not to run it.
Pi-hole vs the alternatives
| uBlock Origin (browser) | Pi-hole (self-hosted) | NextDNS (managed) | |
|---|---|---|---|
| Cost | Free | Hardware (~$30–120 once) + your time | Free tier, then ~US$20/yr |
| Covers non-browser devices | No | Yes | Yes |
| Blocks in-browser ads | Best in class | Partial | Partial |
| Works away from home | Yes (in browser) | Only via VPN tunnel | Yes |
| Query visibility | No | Full, local, private | Full, but logged with a third party |
| Maintenance | None | Low but nonzero | None |
| Who sees your DNS data | Nobody new | Nobody — stays on your network | NextDNS |
NextDNS deserves an honest mention. It’s a managed service that does most of what Pi-hole does — network-wide filtering, per-device profiles, query logs — with no hardware and no maintenance, and it works on devices outside your home too. The free tier covers 300,000 queries a month, which a small household may fit inside. If you want the outcome but not the project, it’s the right call. The trade-off is the obvious one: your entire DNS history sits with a third party rather than on a box in your cupboard. For a site that spends a lot of time talking about metadata, I’d be inconsistent not to point that out — DNS logs are exactly the kind of metadata that paints a complete picture of your online life.
What to run it on
Pi-hole is famously undemanding. In practice you have four options:
A Raspberry Pi Zero 2 W — around $30 for the board, plus a power supply, microSD card, and case. Perfectly capable of serving DNS for a busy household. The catch: Wi-Fi only, no Ethernet without an adapter, and your DNS server really wants to be on a cable.
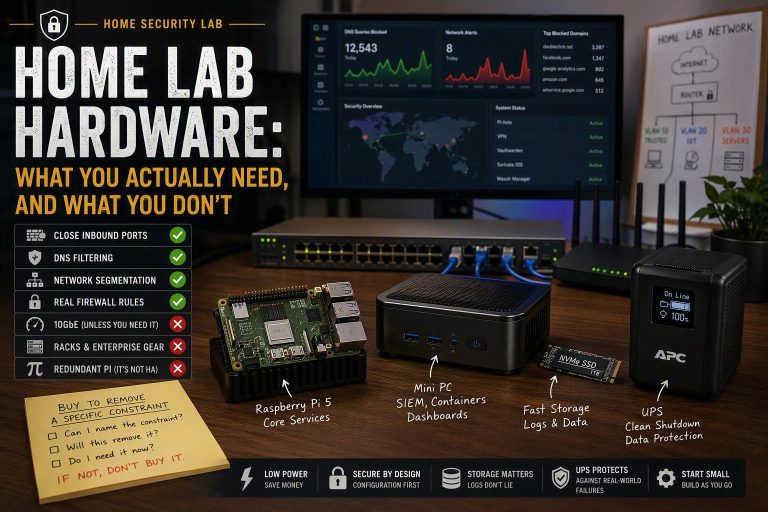
A Raspberry Pi 4 or 5 — the classic choice. A 1GB or 2GB board (roughly $50–90 for the board depending on model; budget more like $100–150 all-in with power supply, SD card, and case) is dramatically more than Pi-hole needs, which is exactly why it’s the right buy: gigabit Ethernet, and enough headroom to later stack the other lab services from this series on the same box.
Hardware you already own. Pi-hole runs happily in Docker, so if you followed the home lab cornerstone and have a box running already, you don’t need to buy anything. This is how it runs in my lab, alongside everything else.
An old laptop or mini PC. Anything that runs Linux and idles quietly will do. Pi-hole’s requirements are so modest that “whatever’s in the drawer” is a legitimate deployment platform.
If you’re buying new, my recommendation is the Pi 4/5 route or Docker on existing hardware. The Zero 2 W is tempting on price but the Wi-Fi-only limitation matters more for a DNS server than for most projects.
The Australian gotcha: your ISP router probably fights you
Here’s the part international guides skip. There are two ways to deploy Pi-hole, and which one you can use depends on your router:
Option 1 — change the DNS your router hands out (preferred). In your router’s DHCP settings, set the DNS server to your Pi-hole’s IP. Every device on the network picks it up automatically at its next lease renewal. One change, whole network covered.
Option 2 — let Pi-hole be your DHCP server. Disable DHCP on the router entirely and enable Pi-hole’s built-in DHCP server. More setup, but it also gives you proper per-device hostnames in the query log instead of a wall of anonymous IP addresses.
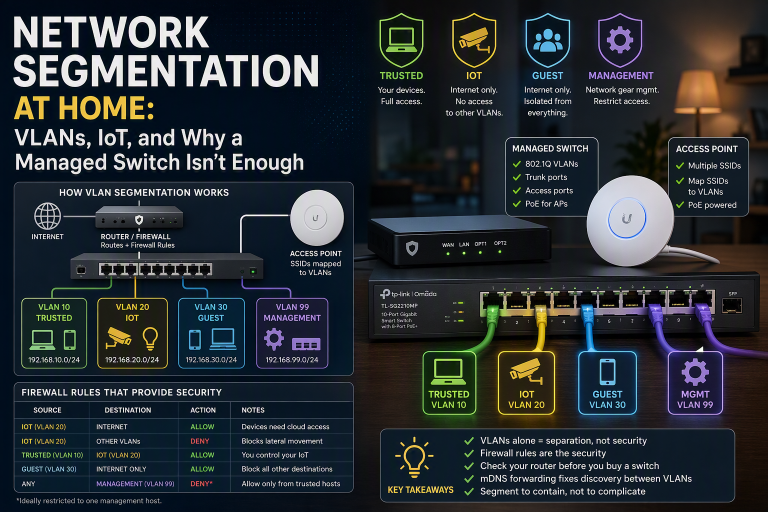
The problem: many ISP-supplied NBN routers lock the DNS field. Telstra’s Smart Modem is the notorious example — it won’t let you change the DNS servers it hands out via DHCP, full stop. Some other ISP-branded gateways are similarly restricted or bury the setting. If that’s your situation, your realistic paths are:
Use Option 2 and let Pi-hole take over DHCP (works even when the router’s DNS is locked, since devices stop asking the router);
Set DNS per-device manually on the handful of devices you care most about (tedious, and impossible on many IoT devices — which defeats much of the point);
Put your own router behind the ISP modem, which is the better long-term answer for anyone building out the rest of this lab series anyway.
Check what your router allows before you buy hardware. Log into it, find the DHCP/DNS settings, and see whether the DNS field is editable. Five minutes now saves an annoying discovery later.
Setting it up — the short version
The installation itself is genuinely one of the easiest in self-hosting, which is part of why Pi-hole is many people’s first lab project:
Flash Raspberry Pi OS Lite (or your distro of choice) and get the box on your network — wired, with a static IP or a DHCP reservation. A DNS server that changes address is a network outage waiting to happen.
Run the installer — a single command from the official Pi-hole documentation — or deploy the official Docker image if you’re running it on existing hardware. Accept the defaults; they’re sensible.
Set an upstream resolver. Pi-hole answers your devices, but it still needs somewhere to send legitimate queries. Cloudflare (1.1.1.2, the malware-blocking variant) or Quad9 (9.9.9.9) are both solid, privacy-respecting choices.
Point your network at it using whichever deployment option your router permits (see above).
Resist the urge to add twenty blocklists. The default list is well-curated and breaks very little. Every additional aggressive list you add increases blocking by a little and household complaints by a lot. Run defaults for a fortnight, look at the query log, and tune from evidence.
Two operational notes from running it long-term: whitelist proactively the first time each false positive appears (the query log makes finding the offending domain trivial), and think about failover — a second Pi-hole instance, or at minimum knowing how to quickly point DNS back at your router when you’re away and something breaks. Your household’s patience is a finite resource; spend it wisely.
The verdict
Skip Pi-hole if: your annoyance is ads in your browser (use uBlock Origin), your main target is YouTube ads (Pi-hole can’t help), or nobody in the house wants to own a piece of infrastructure that occasionally needs a whitelist entry. There is no shame in this — it’s the majority answer, and NextDNS exists if you want the network-wide outcome without the project.
Run Pi-hole if: you want to control what your smart TV and IoT devices are allowed to phone home to, you want genuine visibility into your network’s DNS traffic, or you’re building out the home lab from this series and want a high-value, low-effort service that teaches you something. As a security learning tool per dollar spent, very little beats it — you will understand your own network better after a week of query logs than after a year of not looking.
And if you already built the WireGuard tunnel from part three: pair them. Your phone gets your home network’s DNS filtering everywhere it goes, which quietly solves Pi-hole’s biggest limitation and turns two weekend projects into something that feels like real infrastructure.
Next in the series, we keep building on the same box — because the pattern by now should be familiar: one cheap machine, a stack of services, each one earning its keep.
Plain Text Security may earn a commission from some links on this page at no cost to you. Affiliate relationships never influence recommendations — see the full affiliate disclosure.