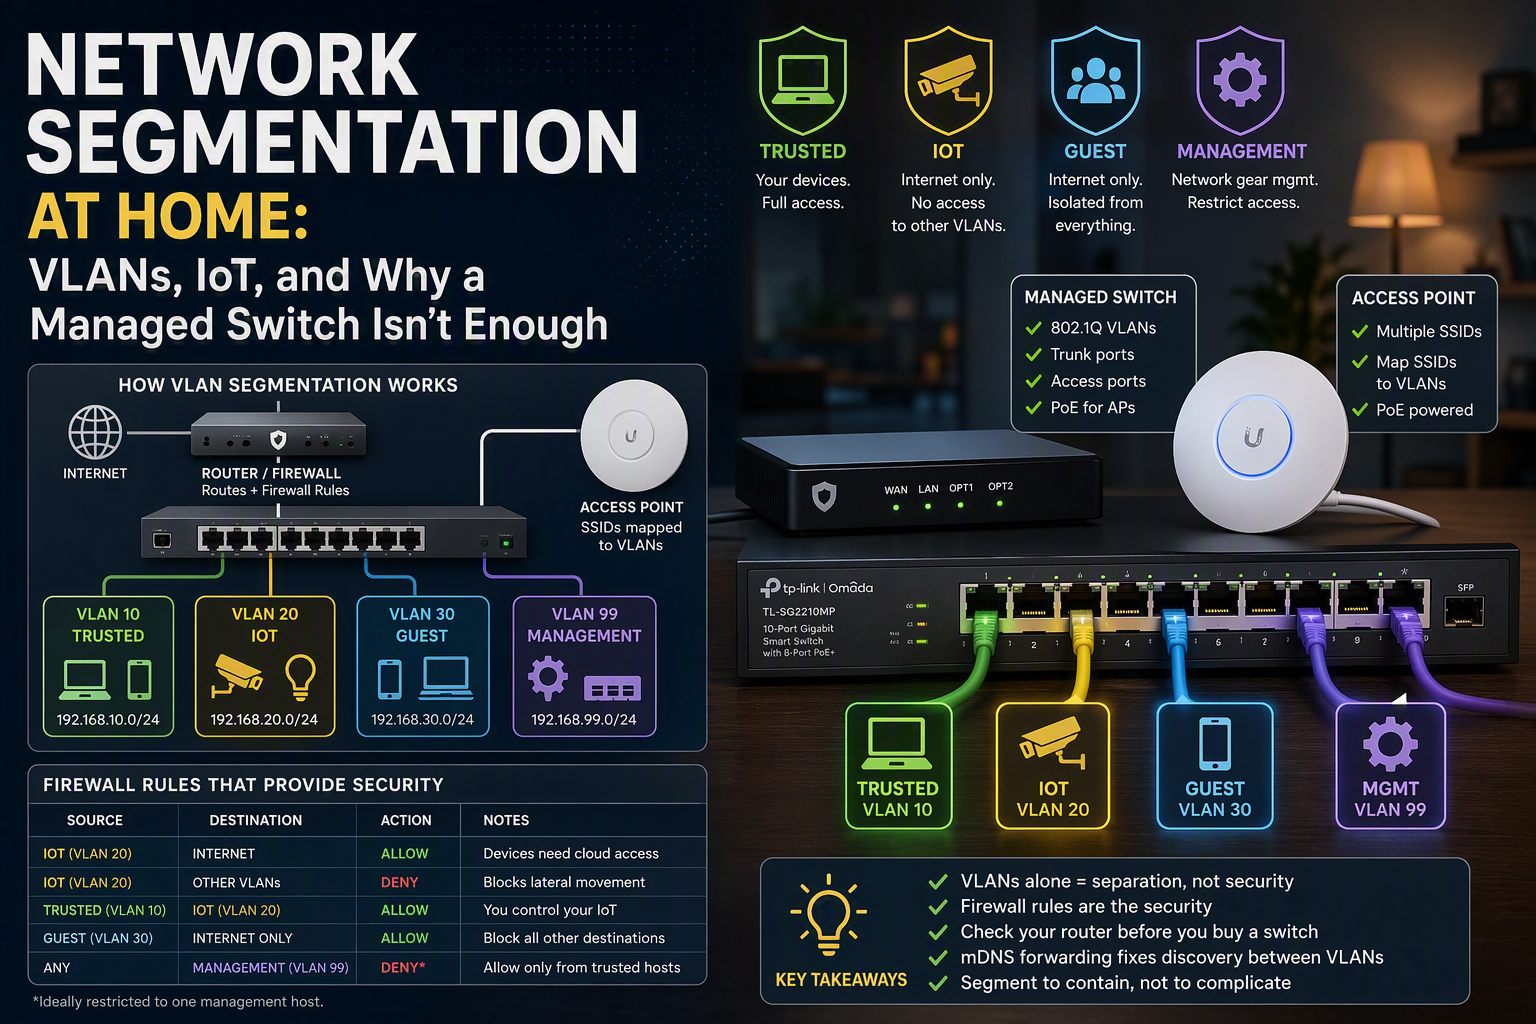
Network Segmentation at Home: VLANs, IoT, and Why a Managed Switch Isn’t Enough
Most home networks are one flat space. The smart TV, the robot vacuum, the kid’s tablet, the work laptop and the NAS holding every family photo you own all sit on the same broadcast domain, able to talk to each other freely.
In an enterprise, that design would be a finding. At home it’s the default.
Segmentation is the fix, and it’s the single highest-value thing you can do to a home network after patching. It’s also where most write-ups go wrong: they explain how to create a VLAN on a switch and stop there, which produces a network that is organised but no more secure than it was before.
Here’s the version that actually works, including the part that does the security.
What segmentation actually buys you
Be clear about the threat model, because it isn’t “hackers on the internet.”
It’s the device you can’t patch. A cheap IP camera or smart plug running a vendor firmware fork from 2021, with no update mechanism and a hardcoded credential somewhere in it. You can’t fix that device. What you can do is ensure that when it’s compromised, the attacker lands somewhere useless.
It’s lateral movement. A compromised IoT device on a flat network can scan every host, hit your NAS’s SMB shares, reach your router’s admin interface and attack anything else with an unpatched service. Segmentation turns a single foothold into a dead end.
It’s not a firewall replacement. Segmentation doesn’t stop your laptop getting malware from a dodgy download. It limits what that malware reaches next.
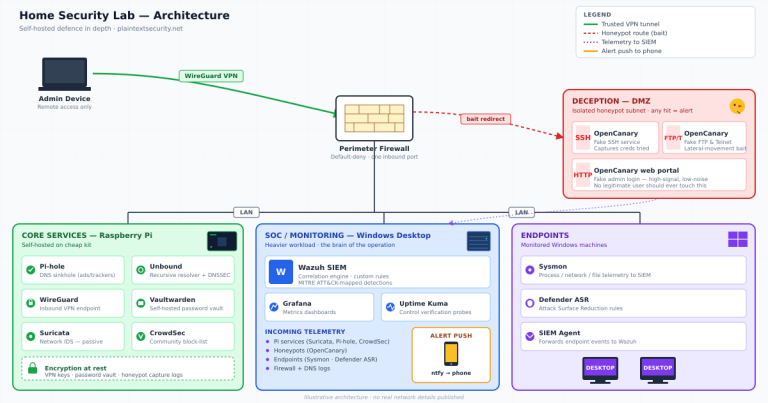
And the honest limitation: VLANs alone give you separation, not security. A VLAN is a broadcast domain. Traffic between VLANs is handled by whatever routes between them — and if that router permits everything, you’ve built neat labels and gained nothing. The security is in the firewall rules, not the VLANs.
That distinction is the whole article.
The prerequisite nobody mentions
You need something that can route and firewall between VLANs. A managed switch tags traffic; it doesn’t police it. If your router is the ISP-supplied box, it almost certainly can’t create VLAN interfaces, and your VLANs will terminate at the switch with nowhere to go.
So before buying anything, check what your router can do:
| Router | VLAN-capable | Notes |
|---|---|---|
| ISP-supplied modem/router | Usually no | The most common blocker. Check for “VLAN” or “802.1Q” in its interface config, not just its WAN settings. |
| OPNsense / pfSense on a mini PC | Yes | Full control, best firewall rule granularity. The standard home lab answer. |
| UniFi gateway | Yes | Cleanest experience if your wireless is already UniFi. |
| OpenWrt on supported hardware | Yes | Capable, more hands-on. |
| Consumer router with “guest network” only | Partially | Gives you one isolated network with no rule control. Better than nothing, not segmentation. |
If your router can’t do this, that’s the purchase to make first. Buying a managed switch before you have somewhere to route is a common and frustrating order of operations.
The VLAN scheme I’d actually use
Resist the urge to build twelve VLANs. Every one you add is ongoing complexity and another set of rules to reason about. Four is plenty for most homes:
Trusted. Laptops, phones, desktops — devices you patch and control. Full outbound access.
IoT. Everything with a vendor cloud and no update story. Cameras, TVs, plugs, speakers, appliances.
Guest. Visitors. Internet only, isolated from everything including each other.
Management. Switch and AP admin interfaces, router management. The most valuable VLAN to isolate and the one people most often skip.
If you run a lab, add a fifth for lab hosts, so that experiments can’t reach the family’s devices. That’s the point of a lab — things break in it.
The hardware, specifically
A switch that does 802.1Q tagged VLANs. This is where a naming trap catches people out. TP-Link’s TL-SG108, for example, is unmanaged and has no VLAN capability at all; the TL-SG108E is the “Easy Smart” model that does. One letter, entirely different device.
Worth knowing about the Easy Smart line before you commit to it: it does support tag-based 802.1Q VLANs per TP-Link’s own datasheet, and plenty of people run it successfully. But it’s a cut-down management plane, not a properly managed switch. Users have long reported fiddly behaviour — VLAN configuration that doesn’t isolate as cleanly as expected, difficulty restricting which VLAN can reach the switch’s own management interface, and firmware quirks. If you already own one, work with it. If you’re buying now and segmentation is the reason, spend the extra on a properly managed switch (TP-Link’s Omada line, UniFi, or similar) and save yourself the troubleshooting.
An access point that maps SSIDs to VLANs. This is the feature that matters, and it’s why Ubiquiti’s UniFi APs are the common home lab choice — you define an SSID, assign it a VLAN ID, done. Most consumer all-in-one routers can’t do this at all.
Power over Ethernet, or an injector. UniFi APs are typically PoE-powered. Either buy a switch with PoE ports or budget for an injector per AP. Easy thing to forget until the AP is mounted on a ceiling.
Wiring it up
Three devices, three configurations, and they have to agree.
On the switch. Ports fall into two categories. An access port carries one VLAN untagged, with its PVID set to that VLAN — this is where a device that knows nothing about VLANs plugs in. A trunk port carries multiple VLANs tagged, and connects the switch to the router and to the AP.
On the AP. Create an SSID per VLAN and set the VLAN ID on each. The AP itself needs a management address, which lives on your management VLAN.
Here is the single most common failure. The switch port feeding the AP must be a trunk carrying every VLAN whose SSIDs the AP broadcasts, tagged — plus the management VLAN untagged as the port’s PVID so the AP can reach the controller. Tag only one VLAN and you’ll get exactly the symptom everyone reports: clients associate to the SSID happily, then never receive an IP address. It looks like a wireless problem. It’s a missing tag.
On the router. Create a VLAN interface per VLAN, give each a subnet, and run DHCP on each. Then write the rules.
The rules are the security
This is the part that turns labels into protection. The pattern:
IoT to internet: allow. Most of these devices are useless without their cloud. Blocking it entirely breaks them.
IoT to everything else: deny. No IoT device needs to initiate a connection to your laptop or NAS.
Trusted to IoT: allow. You need to reach the camera app and cast to the TV. Because this is stateful, return traffic works while unsolicited inbound from IoT stays blocked. That asymmetry is the whole trick.
Guest to internet only: allow. Everything else denied, including guest-to-guest where your AP supports client isolation.
Anything to management: deny, except from trusted. And ideally from one specific host. Your switch’s web interface should be one of the hardest things on your network to reach.
Log the denies, at least at first. You’ll discover things you didn’t know were talking to each other, which is educational and occasionally alarming.
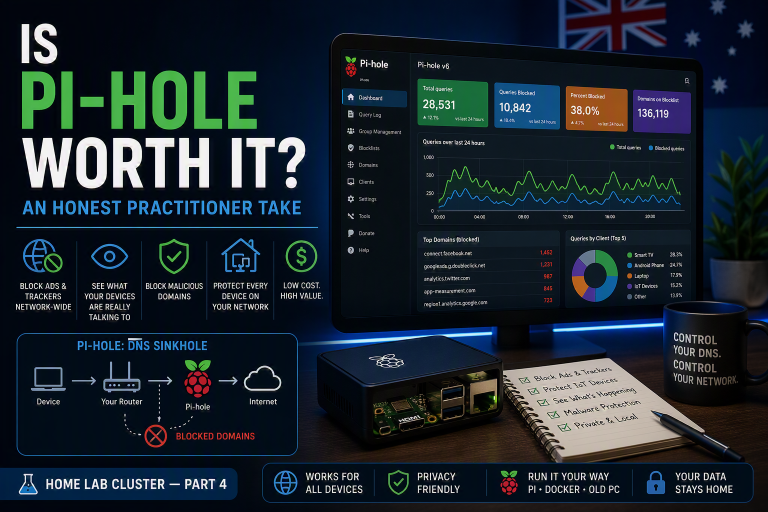
Keeping Pi-hole working across VLANs
If you’re running Pi-hole, segmentation creates an obvious problem: it lives on one VLAN and every other VLAN needs it for DNS.
Two rules solve it:
Allow DNS to the Pi-hole address specifically — port 53 from each VLAN to that one host, not to the whole VLAN it lives on.
Block outbound port 53 to everywhere else. Plenty of devices ship with hardcoded DNS servers and will happily ignore what DHCP told them. Redirecting or blocking outbound 53 forces them back through your resolver.
Be aware this doesn’t catch DNS over HTTPS, which rides port 443 and looks like ordinary web traffic. Some devices use it deliberately to bypass local filtering. You can block known DoH endpoints, but it’s a maintenance treadmill, and worth knowing as a limitation rather than pretending Pi-hole sees everything.
What will break, and it’s always the same thing
Device discovery. Chromecast, AirPlay, Sonos, network printers and most “it just appears in the app” features rely on mDNS, which is a multicast protocol that does not cross VLAN boundaries by design.
So the day after you segment, someone in your house will report the TV has vanished from their phone. This is the number one reason people revert.
The fix is an mDNS reflector or repeater — UniFi exposes this as mDNS forwarding, OPNsense and pfSense via Avahi. Enable it only between the VLANs that need it, typically trusted and IoT. It does punch a deliberate hole in your separation, and that’s an acceptable trade for a working household.
Don’t lock yourself out. The classic self-inflicted injury: reconfigure the switch’s VLANs, apply, and lose access to the switch’s management interface, with a factory reset as the only way back. Change the management configuration last, know how to reset the device, and where possible keep a wired laptop on a known-good access port while you work.
Do it in this order
Segmenting a live household network in one sitting is how you end up with everyone annoyed at you.
- Confirm the router can do VLAN interfaces. If not, solve that first.
- Create the VLANs on the router with subnets and DHCP, before touching the switch.
- Configure the switch: access ports first, trunks second, management last.
- Configure the AP’s SSIDs and VLAN mappings.
- Move devices one category at a time — IoT first, since it’s the highest-risk and lowest-complaint group.
- Add firewall rules in a permissive state with logging on, then tighten.
- Enable mDNS forwarding only where something is genuinely broken.
Leave the trusted VLAN until last. If something goes wrong at step three, you want the family’s devices still working while you fix it.
The verdict
Segmentation is the best return on effort available to a home network, and it’s genuinely achievable in an afternoon with a managed switch and an AP that maps SSIDs to VLANs.
The two things to take away: the firewall rules are the security, not the VLANs, and check your router before you buy a switch. Get those right and the rest is configuration detail.
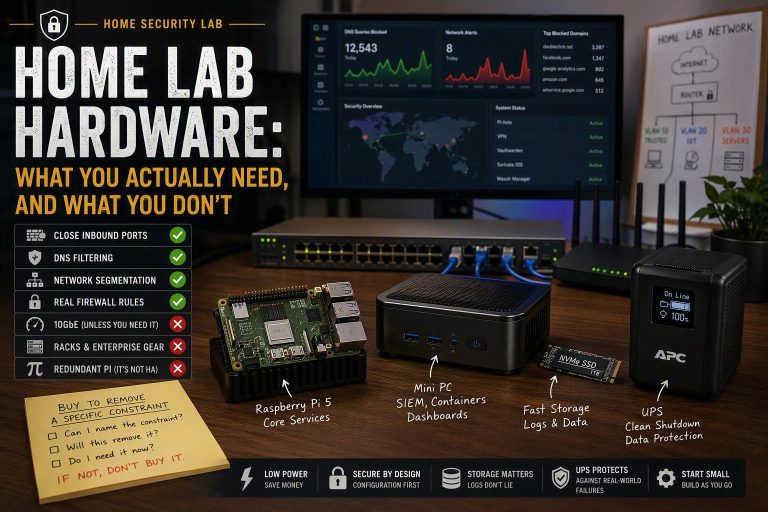
If you’re working out what hardware is actually worth buying for a lab like this, I’ve written a companion piece on home lab hardware — what you need and what you don’t. For where segmentation sits alongside everything else, start with the home network security guide.
This article contains affiliate links. Plain Text Security may earn a commission on purchases made through them, at no extra cost to you, and it never changes what gets recommended. As an Amazon Associate we earn from qualifying purchases. See our affiliate disclosure.